Home Assistant Beginner Tips: Your Ultimate Starter Guide
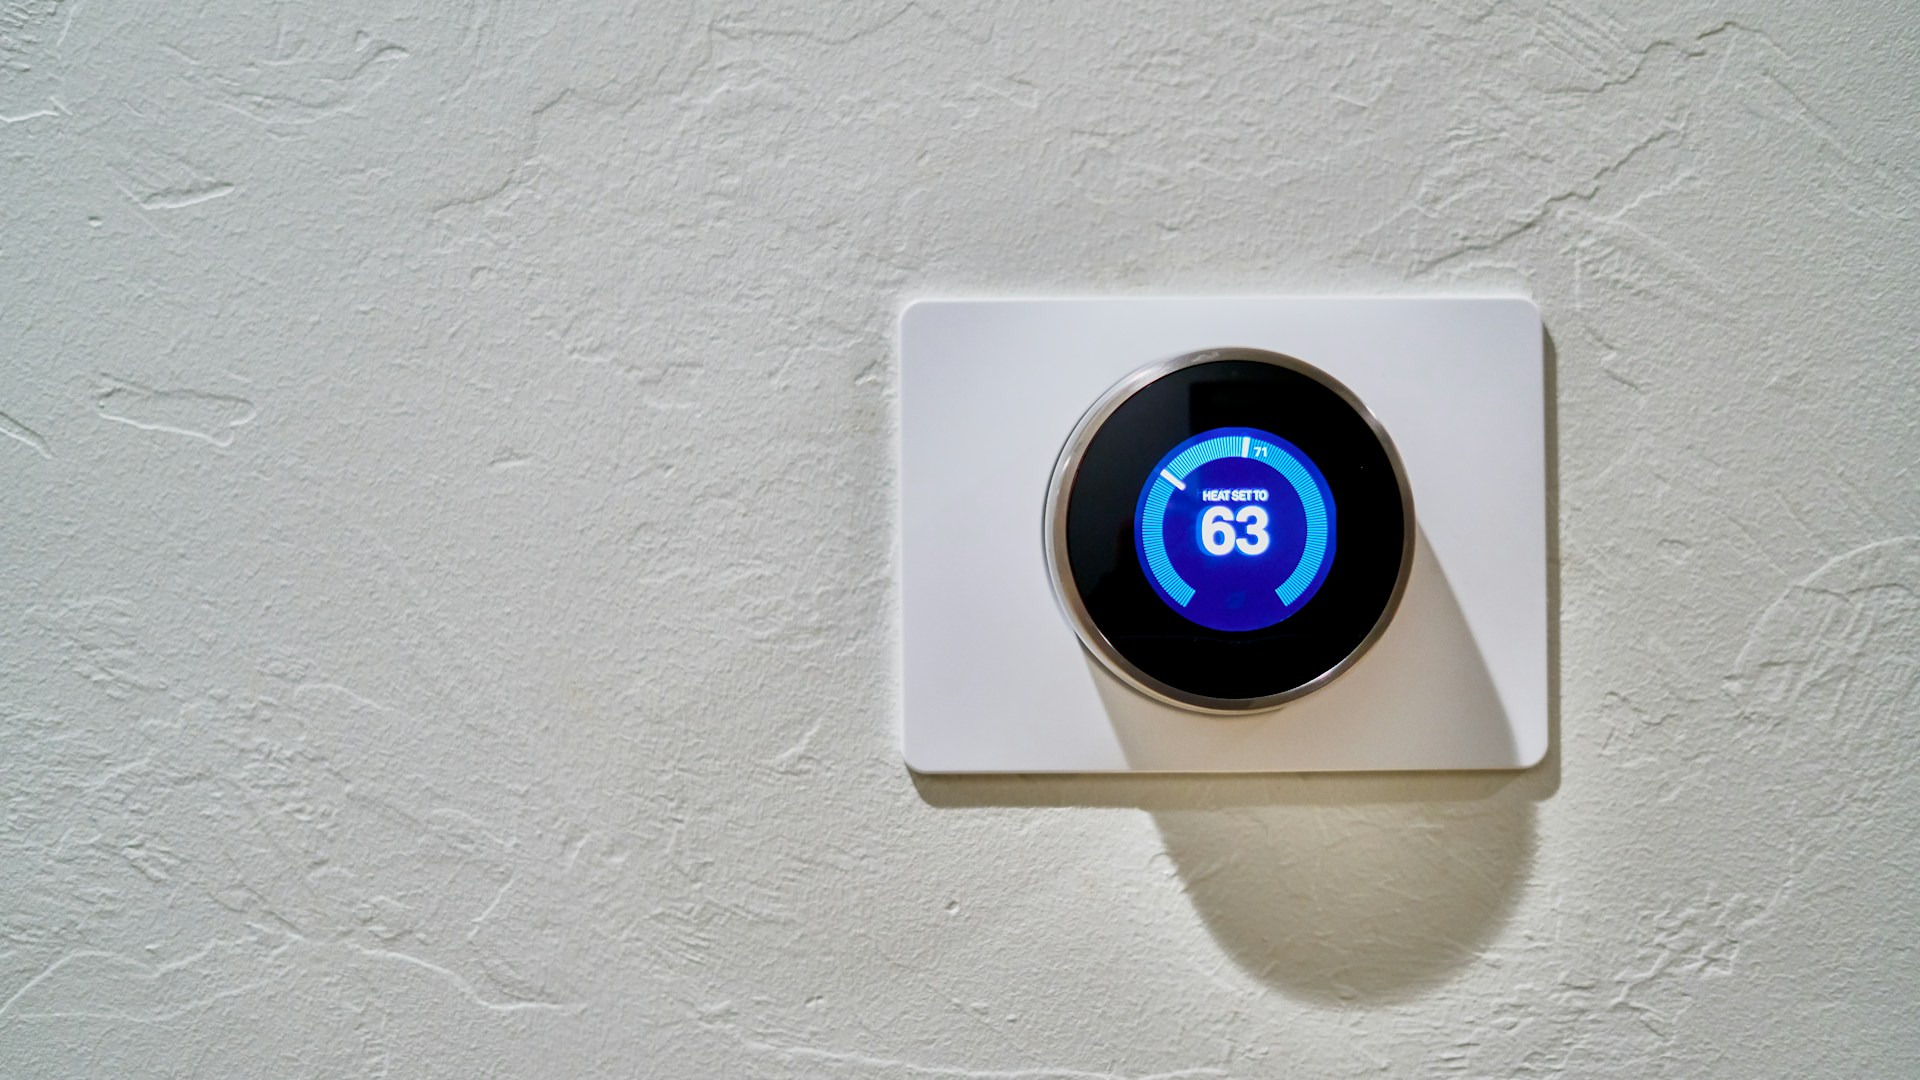
Table of Contents
Home Assistant is a powerful platform that can transform your home into a smart haven, but diving into it can be daunting for beginners. Here’s the bottom line: Start with essential integrations and simple automations, and gradually expand as you gain confidence.
Our Pick: Key Integrations to Start With
-
Philips Hue - Approx. $80 for a starter kit
- Why it matters: Easy-to-use lighting automations can set the mood in your home while impressing your guests.
-
SmartThings - Free app with an array of compatible devices
- Why it matters: A wide range of compatible devices can help you unify your ecosystem under Home Assistant.
-
Sonos Speakers - Start at about $200
- Why it matters: Integrate audio control into your system for an enhanced entertainment experience.
-
Nest Thermostat - Approx. $120
- Why it matters: Energy savings through temperature scheduling can reduce your bills over time.
-
TP-Link Kasa Smart Plugs - About $16 each
- Why it matters: Easily control non-smart devices remotely and create automations.
These selections will provide the backbone to a robust smart home setup. You’ll have everything from smart lighting to climate control in just a few hours of work.
Essential Beginner Tips for Home Assistant
1. Set Up Your Home Assistant Environment
First, get Home Assistant up and running on a Raspberry Pi ($40) or a server. Don’t rush into advanced configurations or custom components without first understanding the basics. Start with Home Assistant OS: an easy installation process that walks you through the necessary steps to get your system operational.
2. Familiarize Yourself with the Dashboard
The Home Assistant dashboard is where the magic happens. Spend time customizing it to suit your preferences. Drag and drop components, create views for different rooms, and prioritize devices you frequently use.
3. Use Integrations Wisely
Integrations are pre-built connections to various smart devices. Use the built-in Integrations page to find devices compatible with Home Assistant. Configure these integrative capabilities first; this approach prevents frustrations down the line.
4. Start Simple with Automations
Begin with straightforward automations using the built-in editor. For example, set a motion sensor to turn on lights at night or establish a schedule for your thermostat. The routine doesn’t need to be elaborate; even simple automations can dramatically improve convenience.
Example Automation Trigger:
alias: Turn on Lights at Night
trigger:
  platform: state
  entity_id: binary_sensor.motion_sensor
  to: 'on'
condition:
  condition: sun
  after: sunset
action:
  service: homeassistant.turn_on
  entity_id: light.living_room
5. Explore Community Resources
The Home Assistant community is vibrant and supportive. Utilize forums like Home Assistant Community for advice, ideas, and troubleshooting. Sharing experiences with others can provide invaluable insights.
Who This is For
- Beginners: If you’re just starting your smart home journey and want an intuitive platform to set things up easily.
- Tech enthusiasts: Those who enjoy tinkering and customizing every aspect of their home automation.
Who Should Skip This
- Non-tech users: If you want a set-it-and-forget-it smart home experience without the need to configure anything manually.
- Limited budget: While many solutions are relatively affordable, significant investment is required for premium devices, especially if you want to control a wide array.
Advance Your Skills Gradually
Once you’ve grasped the basics, here are some advanced tips to elevate your Home Assistant experience:
1. Advanced Automations
Once comfortable with basic automations, explore templates for intricate behavior patterns. For example, set a “good morning” scene where lights gradually brighten and your coffee maker turns on.
2. Create Scripts
Scripts can combine multiple actions in a single command, enhancing everyday operations. For instance, you could create a “Movie Night” script that dims the lights, turns off the thermostat, and switches on the TV with a single tap.
3. Integrate Presence Detection
Use GPS tracking or Wi-Fi connection as triggers. Automate tasks based on your location—like having the thermostat adjust based on whether anyone is home or away.
4. Leverage Home Assistant Cloud
For a small monthly fee, Home Assistant Cloud offers remote access and integration with Google Assistant and Amazon Alexa, facilitating voice control options.
Conclusion
Home Assistant is an excellent choice for beginners ready to jump into the world of smart homes. By starting with essential integrations and simple automations, you can create a harmonious home without feeling overwhelmed. The real beauty of Home Assistant is the flexibility to grow your system over time as you explore new automations and devices.
Ultimately, invest time in learning the basics, leveraging community resources, and gradually building out your smart home system. This approach will help you avoid common pitfalls and allow you to enjoy the process while transforming your living space into a smart sanctuary.