How to Add Integrations to Home Assistant: Step-by-Step Guide
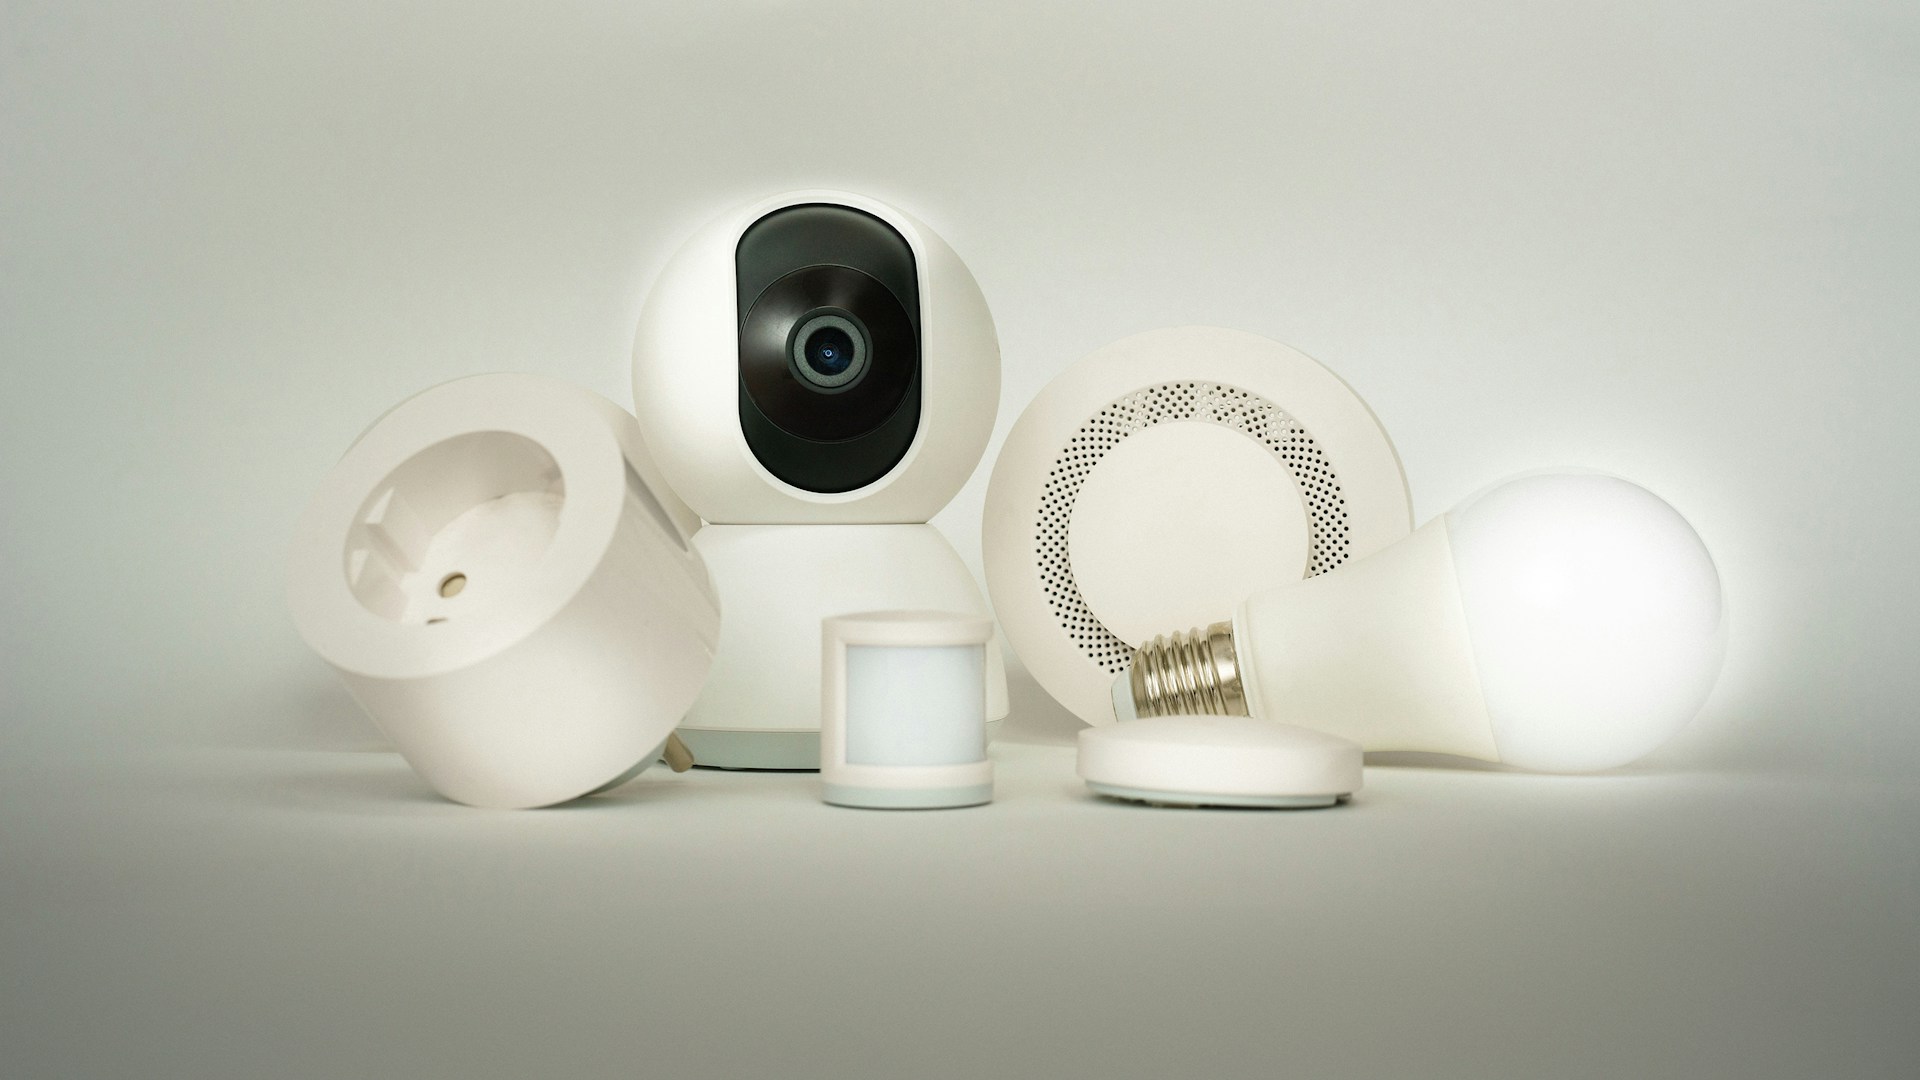
Table of Contents
Connecting your smart devices to Home Assistant can dramatically enhance your home automation experience. The bottom line? Adding integrations allows for improved interoperability between devices from different manufacturers, enabling you to create more powerful automations and control systems. In this step-by-step guide, you’ll learn how to efficiently add integrations to Home Assistant, making it more personalized and effective for your needs.
Why Add Integrations to Home Assistant
Integrations are the backbone of Home Assistant. They allow you to connect various smart home devices—like lights, switches, sensors, and cameras—regardless of the brand. This is crucial because many devices speak different languages, and without integration, your devices would be siloed and unable to interact with each other.
Benefits of Integrating Devices
-
Cross-Compatibility: You can control devices from Google, Amazon, Philips Hue, and more from a single platform.
-
Automations: Create automations that involve multiple devices across different brands to perform tasks based on time, location, or device status.
-
Custom Dashboards: Tailor your Home Assistant UI to show data and controls from your integrated devices, providing an at-a-glance view of your smart home.
Who This Is For
- Smart Home Enthusiasts: If you already have multiple smart devices in your home and want to unify control under one roof.
- Home Automation Newbies: Anyone new to home automation will benefit significantly from the added functionalities of integrations.
- Tech-Savvy Users: Those comfortable with tech platforms and willing to learn can take advantage of Home Assistant’s extensive customization options.
Who Should Skip This
- Basic Users: If you prefer using manufacturer-specific apps (e.g., the Philips Hue app for lights), you might find Home Assistant overly complicated for your needs.
- Non-Tech Savvy Users: If you aren’t comfortable with installing or configuring software, the steep learning curve might be challenging.
Step-by-Step Guide: Adding Integrations
Now, let’s get to the meat of the matter—adding those integrations! Follow these straightforward steps to enhance your Home Assistant setup:
Step 1: Open Home Assistant
- Launch your Home Assistant interface on your web browser. This is typically accessible via a local IP address like
http://homeassistant.local:8123.
Step 2: Access the Integration Page
- From the sidebar, click on Configuration.
- Then choose Integrations. This will take you to a page showing all currently installed integrations.
Step 3: Search for an Integration
- Click on the Add Integration button in the bottom right corner.
- A dialog box will appear with a search bar. Here, input the name of the device or service you want to integrate (for example, “Philips Hue” or “Nest”).
Step 4: Follow the Installation Prompts
- Once you select your integration, you’ll be directed to a prompt to enter any necessary credentials. This could include usernames, passwords, or API keys.
- Follow the on-screen instructions to complete the integration.
Step 5: Access and Automate
- Once you’ve added your integrations, they will appear on the Integrations page.
- Navigate to Automations from the sidebar to create new automations utilizing your newly integrated devices.
Example: Adding Philips Hue Integration
- Price: Typically, Philips Hue bulbs are priced around $15 to $50 each, depending on the model.
- Follow the steps above to add Philips Hue.
- You’ll prompt a URL to access your Hue Bridge. Make sure the bridge is on the same network as your Home Assistant instance.
- After successfully adding the integration, you can set automations like having your lights turn red when you receive a security alert.
Troubleshooting Common Issues
While adding integrations can be straightforward, you may run into a few hiccups:
- Device Not Found: Ensure that your device is powered on and connected to the same network as Home Assistant.
- Credentials Error: Double-check any username and password entries. For some devices, you may need specific API keys.
Conclusion: The Power of Integrations in Home Assistant
Integrating smart devices into your Home Assistant not only streamlines control but also unlocks automation potential that can truly enhance your life. You can unify disparate ecosystems into a cohesive smart home experience.
Bottom Line
For those serious about home automation, investing time in learning how to add integrations to Home Assistant is essential. It offers unparalleled flexibility and control over your smart devices.
Our Pick
Adding more integrations will empower your Home Assistant setup. If you’ve never tried it before, jump in—your smart home will thank you for it!
Final Thoughts
Home Assistant is an incredibly powerful platform that can elevate your smart home experience to the next level. By following these steps and leveraging the integrations available, you’ll be on your way to creating a fully automated home tailored exactly to your needs. Embrace the challenge, get hands-on, and enjoy the expansive possibilities!