How to Integrate Aqara into Home Assistant: A Step-by-Step Guide
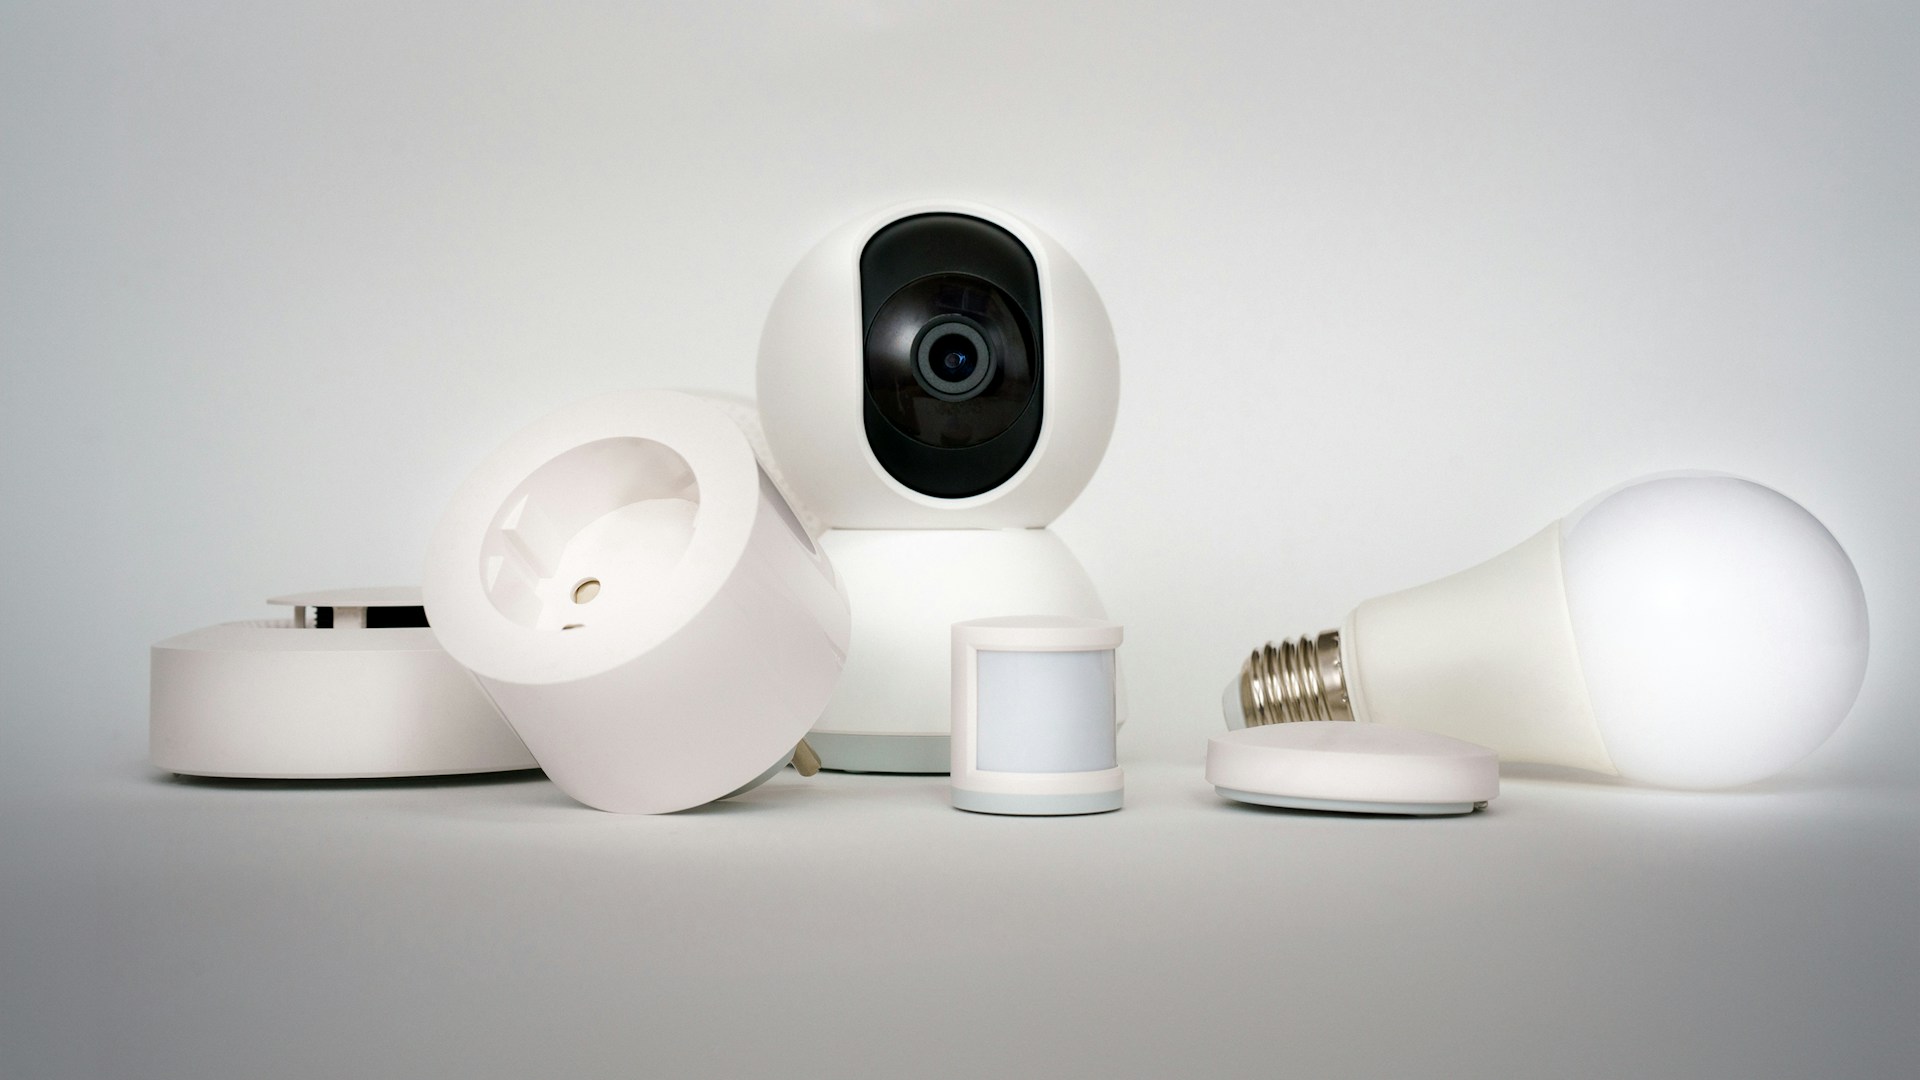
Table of Contents
Integrating Aqara devices into Home Assistant is a game-changer for those looking to boost their smart home configuration. The bottom line is this: Aqara devices, combined with Home Assistant, provide an extensive range of features and versatility, thanks to their seamless compatibility. You can achieve automation that is reliable and sophisticated. Let’s dive into how you can integrate these devices effectively.
Why Aqara?
Aqara offers a wide range of smart home devices, including sensors, switches, and cameras, often at affordable prices. For example, the Aqara Door and Window Sensor can be found for around $20, while a Motion Sensor retails for about $25. These devices are known for their excellent battery life and reliability, making them a solid choice for any smart home enthusiast.
Bottom Line: Why Use Home Assistant with Aqara?
Home Assistant is an open-source platform that allows you to manage your smart home devices from a single interface. It supports a myriad of integrations and protocols, ensuring that you have full control over your device ecosystem. When paired with Aqara, you can enjoy enhanced functionality through automations, custom scripts, and a more cohesive smart home experience overall.
Who This Is For
- Tech enthusiasts who appreciate customization and control over their smart devices.
- Homeowners looking to set up viable automations for security, convenience, and energy efficiency.
- Budget-conscious buyers wanting a cost-effective solution for home automation.
Who Should Skip This
- Casual users who prefer plug-and-play solutions without customizing settings.
- People heavily invested in one brand’s ecosystem (like SmartThings or Zigbee) that may not work well with Aqara.
- Users averse to tech setups that require some comfort with networking and software.
Step-by-Step Integration Guide
Step 1: Setting Up Your Aqara Devices
Before diving into Home Assistant, ensure your Aqara devices are set up correctly using the MiHome or Aqara Home app. Follow these basic steps:
- Download the MiHome or Aqara Home app.
- Create an account and add your Aqara devices to the app.
- Confirm that devices are successfully added and functioning via the app.
Step 2: Install Home Assistant
- Get started by installing Home Assistant on a Raspberry Pi, or host it on your server or a VM.
- Visit Home Assistant’s official website and follow their setup documentation.
- Ensure that the Home Assistant is up to date.
Step 3: Add the Aqara Integration
- Go to Configuration > Integrations in the Home Assistant UI.
- Click the ”+” in the bottom right corner and search for “Xiaomi Gateway.”
- Select the Xiaomi Gateway integration and follow the prompts to enter your gateway’s IP address and access token.
Tip: You can find the access token in the MiHome app under the device settings.
Step 4: Discover Your Devices
Once the integration is set up, Home Assistant should automatically discover your Aqara devices. If not, you can add them manually:
-
In the Configuration.yaml file located in your Home Assistant configuration folder, add entries for your devices as follows:
xiaomi_aqara: gateways: - mac: YOUR_GATEWAY_MAC_ADDRESS token: YOUR_GATEWAY_TOKEN -
Save the changes and restart Home Assistant.
Step 5: Test Your Devices
Navigate to the Overview dashboard on Home Assistant to see if your Aqara devices are listed. Click on them to test functionality like turning on lights or checking sensor status.
Example Use Cases
- Automation: Create an automation that turns on lights when your Aqara Motion Sensor detects movement.
- Notifications: Get alerts on your smartphone if your Aqara Door Sensor is triggered.
- Energy Efficiency: Automate thermostat control based on window open/close readings.
Troubleshooting Common Issues
- Device Not Detected: Ensure your Aqara devices are within range of the gateway and that they are paired.
- Unresponsive Devices: Restart the devices and ensure the Home Assistant instance is up-to-date.
- Integration Problems: Double-check your API token and gateway IP address in the configuration.
Conclusion: Your Smart Home Awaits
By integrating Aqara devices into Home Assistant, you’re opening the door to endless automation possibilities. You’ll have complete control over your smart devices at an affordable price, ensuring your home is both smart and efficient.
Direct Recommendation
If you’re serious about creating a fully integrated smart home ecosystem, do not hesitate—set up your Aqara devices with Home Assistant today. The combination is unparalleled for those looking to get the most out of their smart investments. Plus, for the price of Aqara devices, the capabilities you gain are simply unmatched.
Integrate, automate, and watch your smart home transform into an efficient, responsive ecosystem.